Showing posts with label Embroidery. Show all posts

Sunday, 3 November 2013

Stitching cubes

This week I also tried to turn some of my previous work into stitch to link it back to my current stitch work. I based these cubes on my instruction work shown below.

Below are the results of linking both of these ideas together. I would like to play around with the photography of them more. 


I like the fact that in my original instruction work, I asked another person to do the drawing, and I didn't have control over the result, where as in this piece Im making the art, but other people can arrange the elements in the way they want. This keeps the interactive element to my work alive.

Friday, 1 November 2013

Stitching back into my photography.

I have really struggled this week; I feel lost, stuck and confused about where my project is going. I thought it was a sensible idea to just 'make stuff' despite the way I have been feeling, and I produced these pieces. They are printed out photos that I manipulated in photoshop of the work I did last week.


I stitched into them to create holes with the needle so I could take more blurred pictures using the light.


I thought the best results were the last 2 pictures as they started to look 3D and the colour of the background print really enhanced my work.

I also discovered that I love working in this way! Taking photos of my work and working back into them is something I've never really done before. I am looking forward to putting them back into photoshop and I like this cycle of constantly feeding my work back into itself. I will definitely be using this method again in other projects.

Saturday, 26 October 2013

Monoprinting

After doing so many workshops and learning new printing techniques, I felt as though I needed to have a go in the print room. I want to make sure that the work I am doing is relevant to my project so I decided that monoprinting would suit my work best, as I could paint anything I wanted onto a blank screen.

I am also keen to improve my overall printing skills and get used to the new print room, so that by 3rd Year I feel confident in doing this. As part of this I also want to get used to fabrics, and understand how I should use them in the print room, as in layering them up, and working out how many pulls to give the binder on different types of fabric.


The prints that I created were based on drawings from my sketchbook.


I wanted to try the line drawing print to see how much detail I could achieve with this technique. I thought it worked quite well but the line quality looked a bit like felt tip. It was still interesting to know that I could achieve detail with mono printing, without the dye smudging.


I created 6 prints in the print room, with 2 different designs, but I was only really happy with 2 or 3 of them. This is because of the fact that 2 fabrics were layered up (the underneath one didn't come through properly) but it was really useful to see how fabrics reacted, and to see how many prints I could get out of painting one screen.


I decided to embroider on top of one of the prints that I wasn't too pleased with, due to the dye not penetrating the fabric properly (as it was underneath another fabric). I thought the sharpness of the stitch contrasted well with the blurred, grainy quality of the print behind it.

Friday, 25 October 2013

Stitch: 3D samples

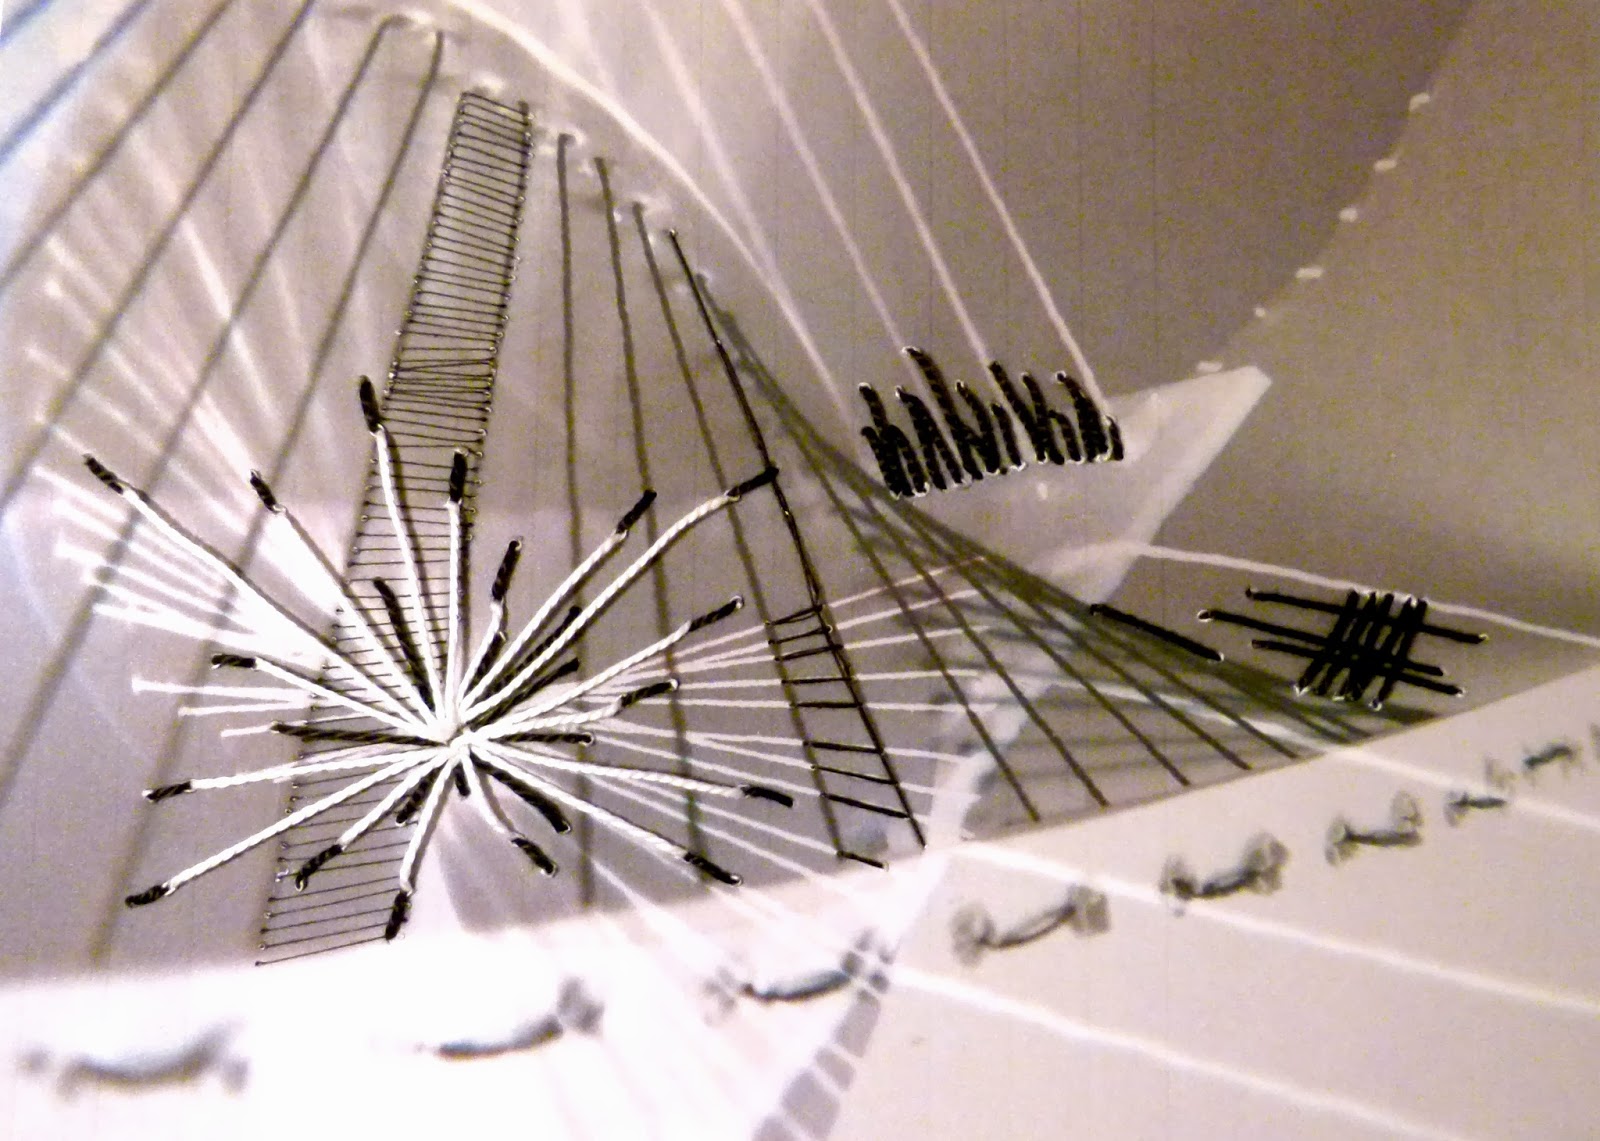
After creating my stitch samples last week, I felt like I needed to develop them further. I decided that the tight long stitches which i was using to replicate sound waves, could instead be suspended, by holding together card to create shapes.


I also tried to create an element of blurring in some of my photos to link in some other aspects of the project.


I thought the crossover of the straight threads created interesting geometric shapes.


For my last sample I decided to use a simple shape, but paint the threads with black ink in the shape of the song waves I have been working with from Piano Phase. I thought this was particularly effective when looking at the piece from an angle.


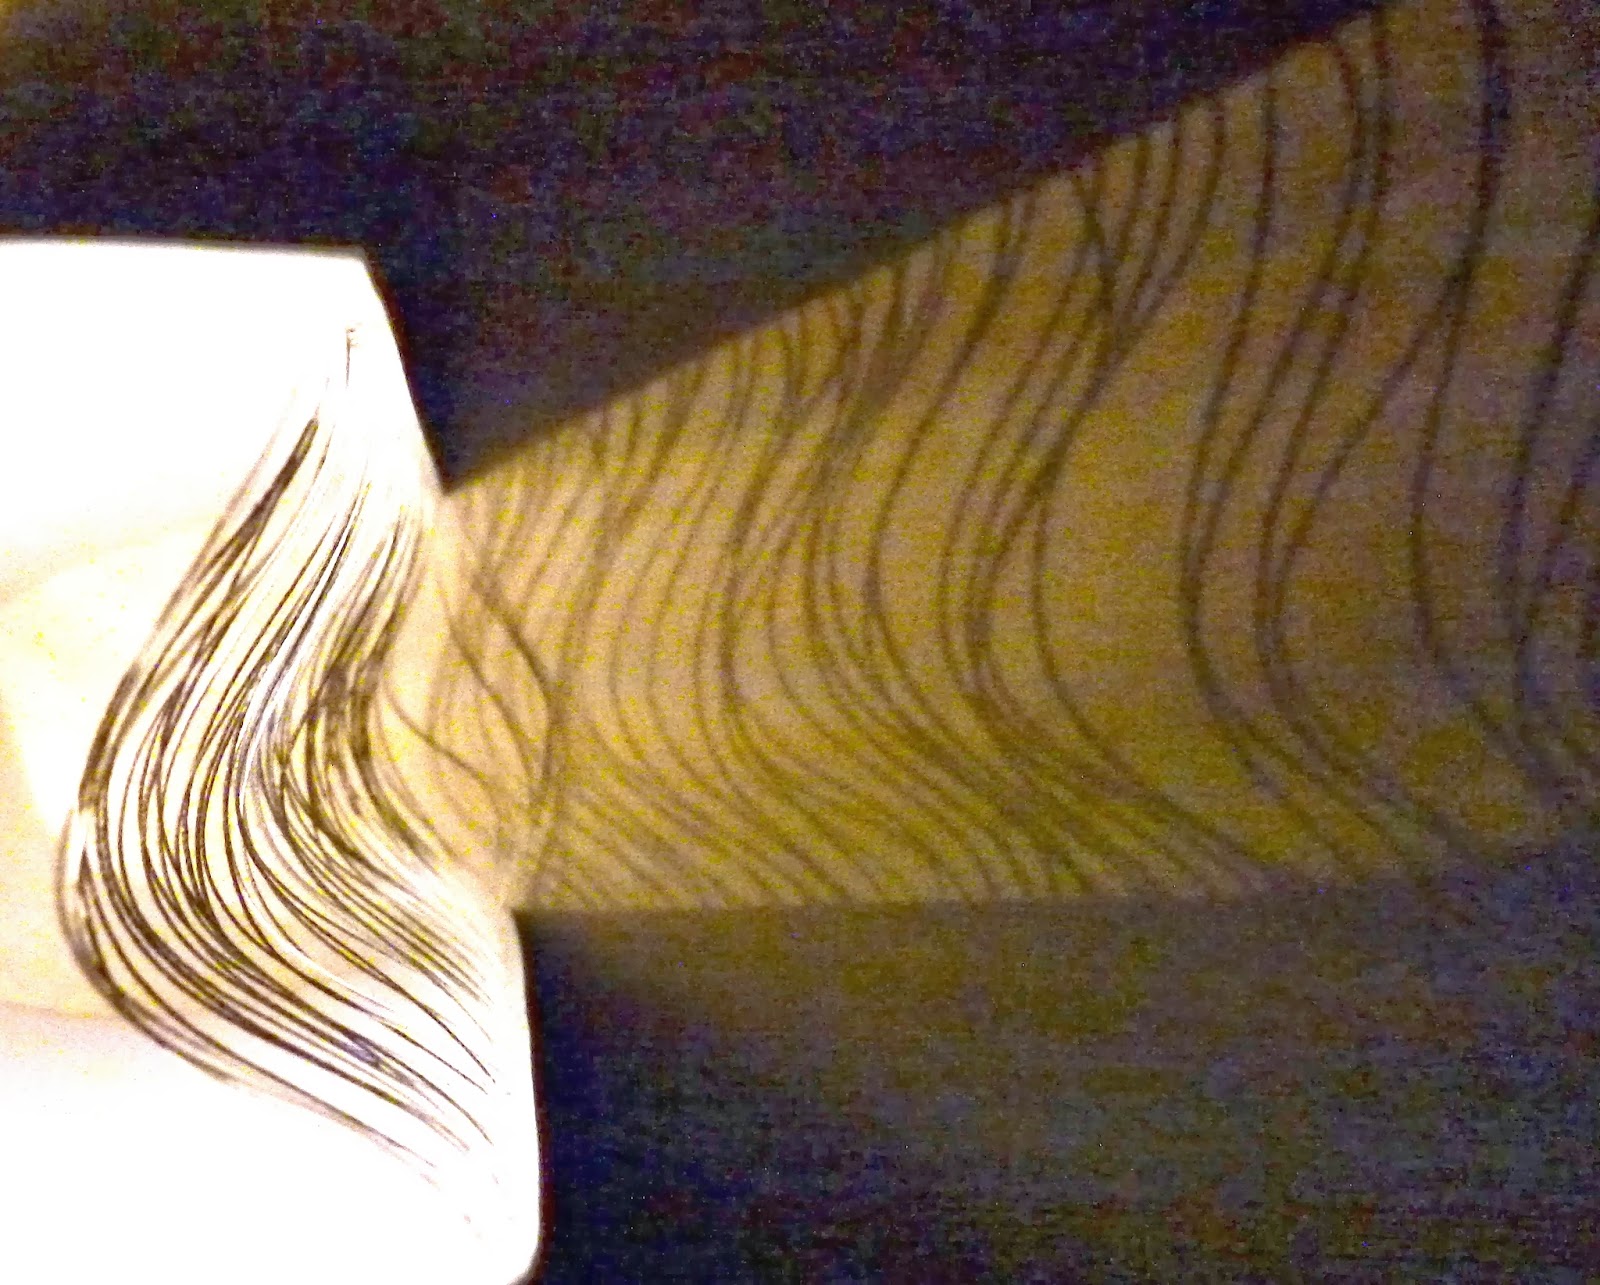
I thought that the stitches crossing over in my 3D samples might create some interesting shadows so (despite the camera quality) I decided to take some photos of the shadows I was creating. As well as casting shadows on the wall, I also cast them on the inside of the card to create this bent effect shown below.


Bending the card also made the yarn slack to create this wobbled effect. The black quality of the ink also showed up nicely in these images below when the light was shone on it.


Friday, 18 October 2013

Responding with Stitch.

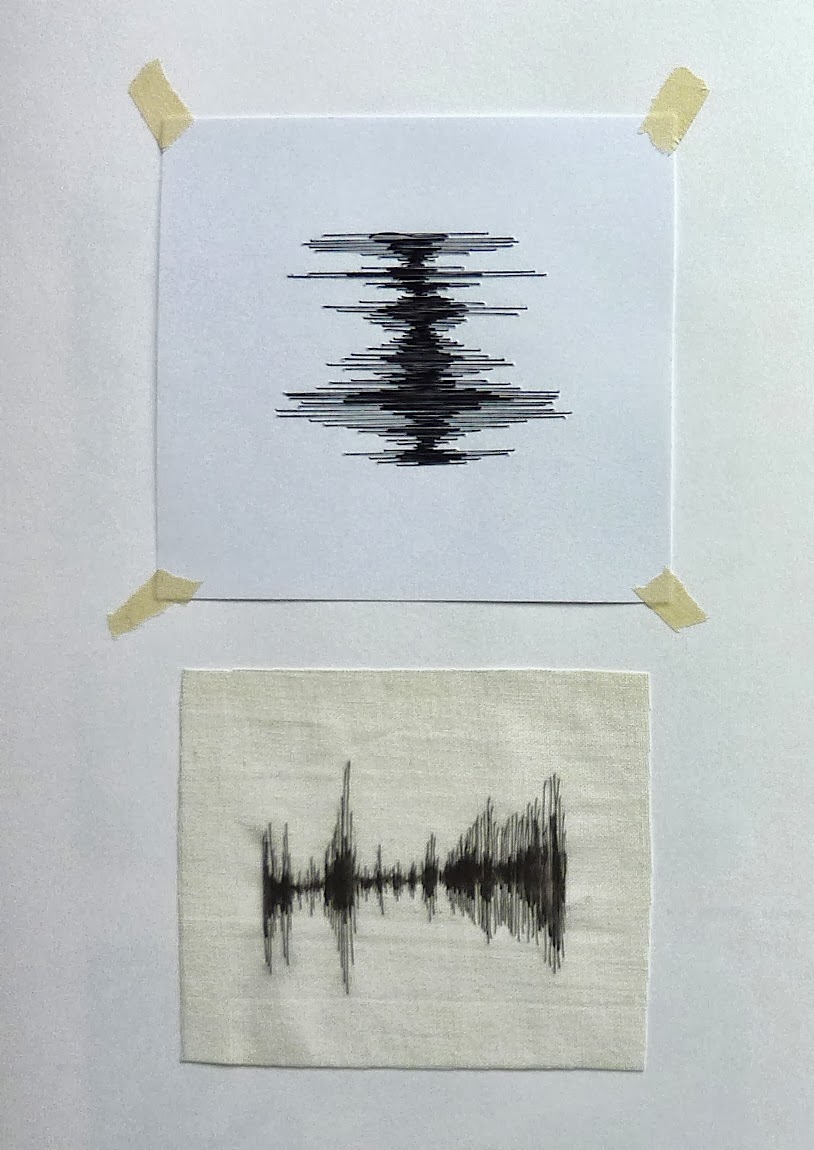
After discovering the Audacity App I loved the results it produced and liked playing with its linear qualities. I thought it would relate well to stitch, so I did two samples, one on paper and one on fabric shown below.

I liked the results of both, especially the paper experiment which let through light in a delicate way through the holes created by the needle. 


I responded to these in various ways including drawings in my sketchbook, and a french knot embroidery sample, marking all of the holes that the light came through. I thought the drawings were successful and I would like to try and work with the results on photoshop.


Saturday, 23 February 2013

Final week of Sampling!

Being inducted into the Pin Tuck foot this week has helped me to round of my project nicely. It uses a double needle to pull the fabric together and form 'tucks' or ridges in the fabric. It creates a good background for other techniques, but has a lot of interesting uses too.

I enjoyed using this foot to couch chords, and in the sample below, I cut off parts of the fabric to reveal the dark leathery chord underneath.


I have managed to incorporate 3D elements by using the same method as above, but pulling the chords up through the gaps to create loops which I thought added another dimension and texture.


I also found that the back of the pin tuck samples were interesting as they created small dots and lines. In the sample below, I couched a bobbled yarn, so the result on the back was this intricate piece, which I then embellished.


This foot also sparked some ideas of how to relate my hand and machine embroidery, which I have wanted to do since I started machine embroidery, as shown in these two samples below.


If I had more time on this project, I would definitely look at more ways to link the different techniques which I have learnt in machine and hand together, to create some interesting pieces of embroidery.

Thursday, 21 February 2013

Nava Lubelski

Lubelski’s works create a tension between destruction and sewing’s traditional role as a dutiful act of repair. Her stitches refuse to stay in their proper place; they reject usefulness, instead perversely rejoicing in damages and defects as occasions for celebration and delight -- Los Angeles Times
My work explores the contradictions between the impulse to destroy and the compulsion to mend. I juxtapose rapid acts of destruction, such as spilling and cutting, with painstaking, restorative labor. Embroideries are hand-stitched over stains and rips, contrasting the accidental with the meticulous, constructing narrative from randomness and mistake. -- Nava Lubelski


I think this artist relates well to my work because her work is graphic, whilst also being textural. I could also consider the idea of making stains and tears in my fabric to create another texture before embroidering into it.

Tuesday, 19 February 2013

Machine Embroidery Week 2!

This week we have been inducted into two new machines (the embellisher and the tufter) and a new foot (tailor tacking foot).

Although I like the pile created by the tufter, It doesn't seem that relevant to my work, so this week I have mainly been creating different samples with my knowledge of the Tailor tacking foot. However the few samples that I did do relating to the tufter were quite successful. They have a nice shape to them and were created by tufting along pleats in the fabric.


I feel that this piece is one of my most successful this week. The black top stitch of the tailor tacking foot blended with the background whilst creating texture, and the low tension on the white spool thread created these small bobbles. The shape reflects the shape of my chromatography experiments.


I have also experimented with layering stitches. This sample consists of layers of different taylor tacking stitches in different colours ontop of ice wool to give my fabric a textured quality.


I have also enjoyed trying out different ground fabrics, that I wouldn't already use such as this stiffer, gauze like fabric. This is actually the back of the normal taylor tacking stitch but I like the mix of tone between the bottom and top threads.


This fabric had a loose weave allowing me to pull our the warp and weft between stitches.


This Resida cotton bump fabric allowed the stitches to almost be swallowed by the fluff of the fabric, making the stitches look ghostly. The pattern was created by me marking the starting and ending points of ink at different points in my chromatography.


I have enjoyed experimenting this week, so for the last week of the project, I would like to create more machine samples with the techniques I have learnt, whilst linking them more to my data as this week, some have been solely technical.

I would like to experiment further with the idea of representing how the ink drags up the paper, and representing the movement of ink using lines rather than representing the shapes. 

I would also like to try and link my hand and machine embroidery together so they arent two separate bodies of work.


Sunday, 10 February 2013

Machine Embroidery - Week 1!

This week I have started machine embroidery. As I haven't done much work on machines before, I spent the week doing lots of small samples to help me get to know how they work and the kind of techniques that can be achieved.

We were inducted into the machines with the number 6 Bernina foot which had a small hole in the centre to couch narrow chords. This is shown in the example below where I have cut away some of the zig zag stitch to reveal the chord.


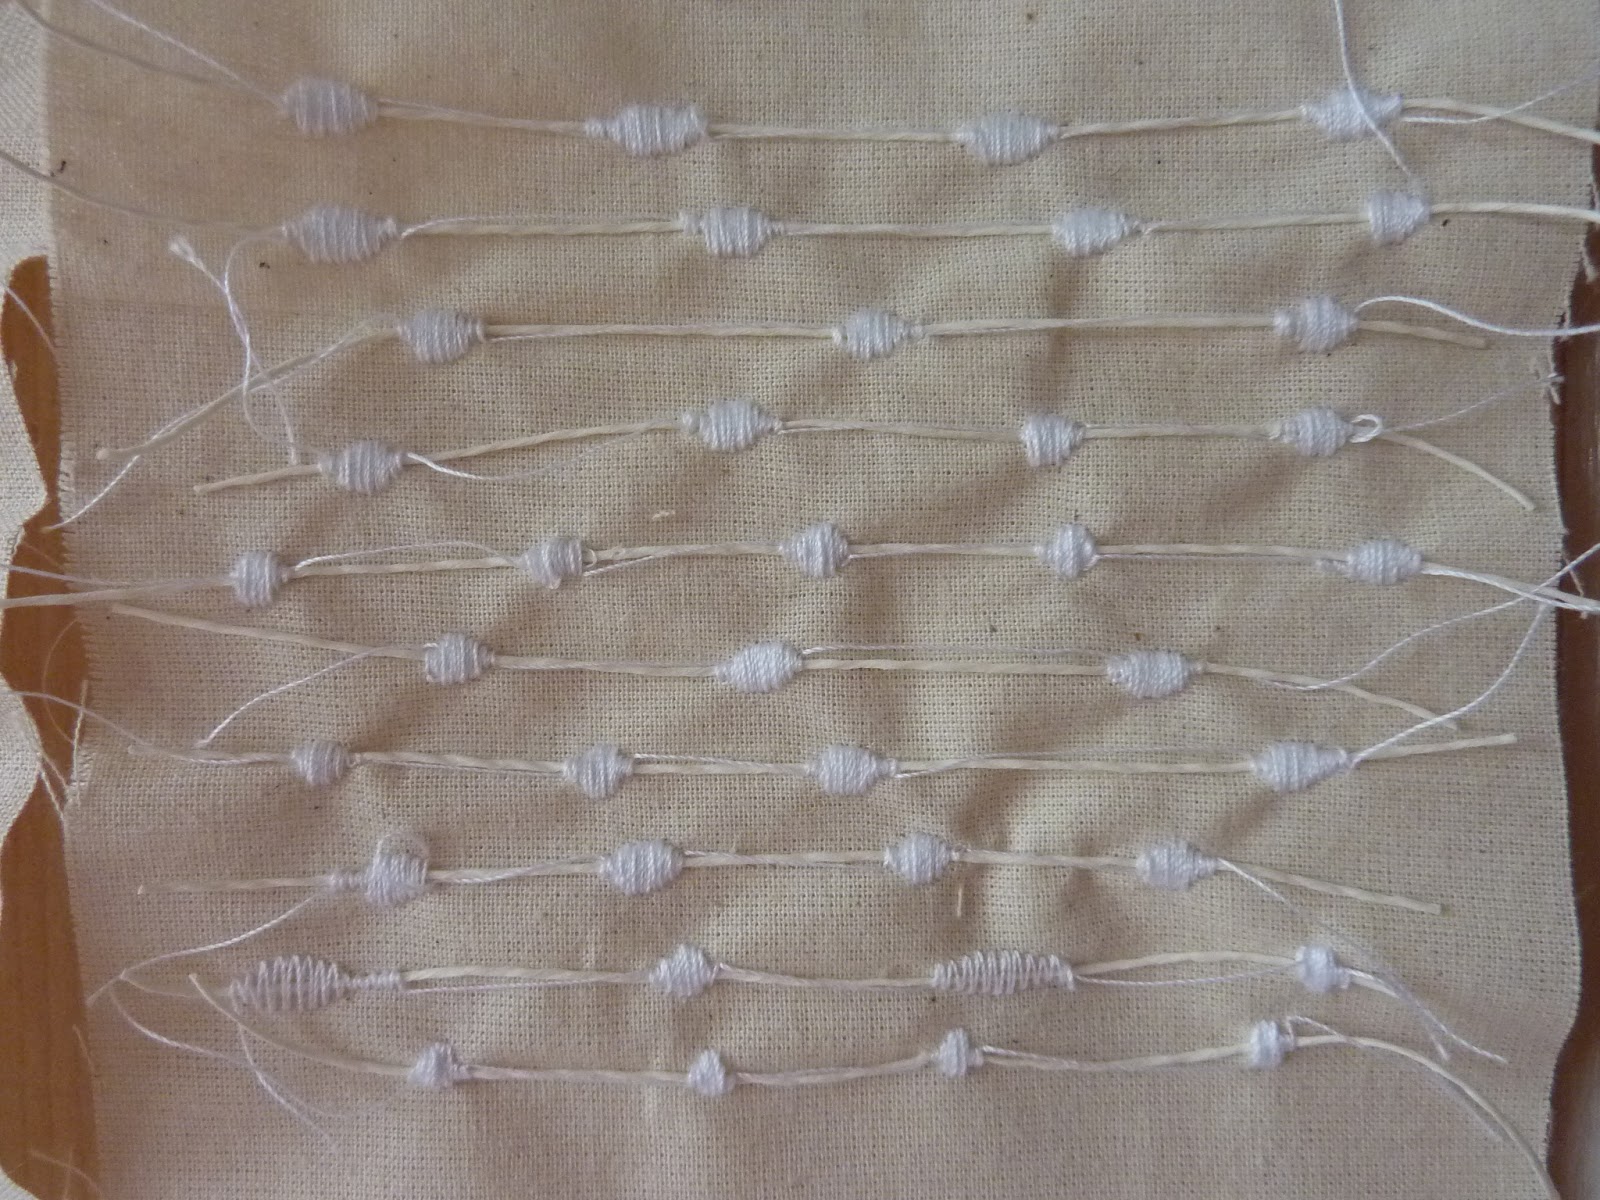
I did couching on this sample with satin stitch, creating small ovular shapes at intervals along the chord.


I also experimented with this fabric which was easy to manipulate. When it was pulled apart, threads were left behind which also added to the texture. The fabric naturally became 3D, however I stuffed the natural shapes to re-enforce this.


Towards the end of the week, I tried to incorporate chromatography with some of my samples.

For this sample, I stitched pieces of cotton onto a base fabric so that they were free standing to create a 3D sample. They also had different heights to create a rippled effect with the fabric, which I then did chromatography on top of. I liked how vibrant the colours ended up, and I also like the 3D aspect of the sample so I would like to develop this further.


I also wanted to see how lots of line stitch would be effected by chromatography. I used one continuous thread as I wanted to see how the colour would travel. I placed the ink on the left hand side (where there is a high concentration of purple) and as you can see, the colour travelled all over the sample due to the linking threads behind the sample.


Throughout the next week I would like to develop my chromatography with machine stitch, to create some bigger samples.