Every single piece in the gallery inspired me for different reasons but Sequel by Nicola Dale was one piece that linked extremely well to my journeys project. It is a felled ten foot oak tree adorned with thousands of individually cut leaves from maps and unwanted reference books. This linked with my journeys project because I concentrated on the nature that I found on my journey, and this piece incorporated both nature and journeys (maps). When I thought more into the concept, it was also interesting how trees had been cut down to make the paper for the maps, which was being put back onto a tree as leaves for this exhibition, and then was put back into a promotional exhibition book as a printed picture, back on paper.


The exhibiton also allowed me to see so many artists which I have used for years as references as inspiration, but I have never had the oportunity to see their artwork before in person. These artists include Sue Blackwell, Rob Ryan, Peter Callesen, Yuken Teruya and Elisabeth Lecourt. Their work has inspired me for so long because of their delicate balance between skill and creativity; they produce art which makes me think and inspires creativity in my own work. Here are some examples of theirs from the exhibition.
 |
| Su Blackwell |
 |
| Peter Callesen |
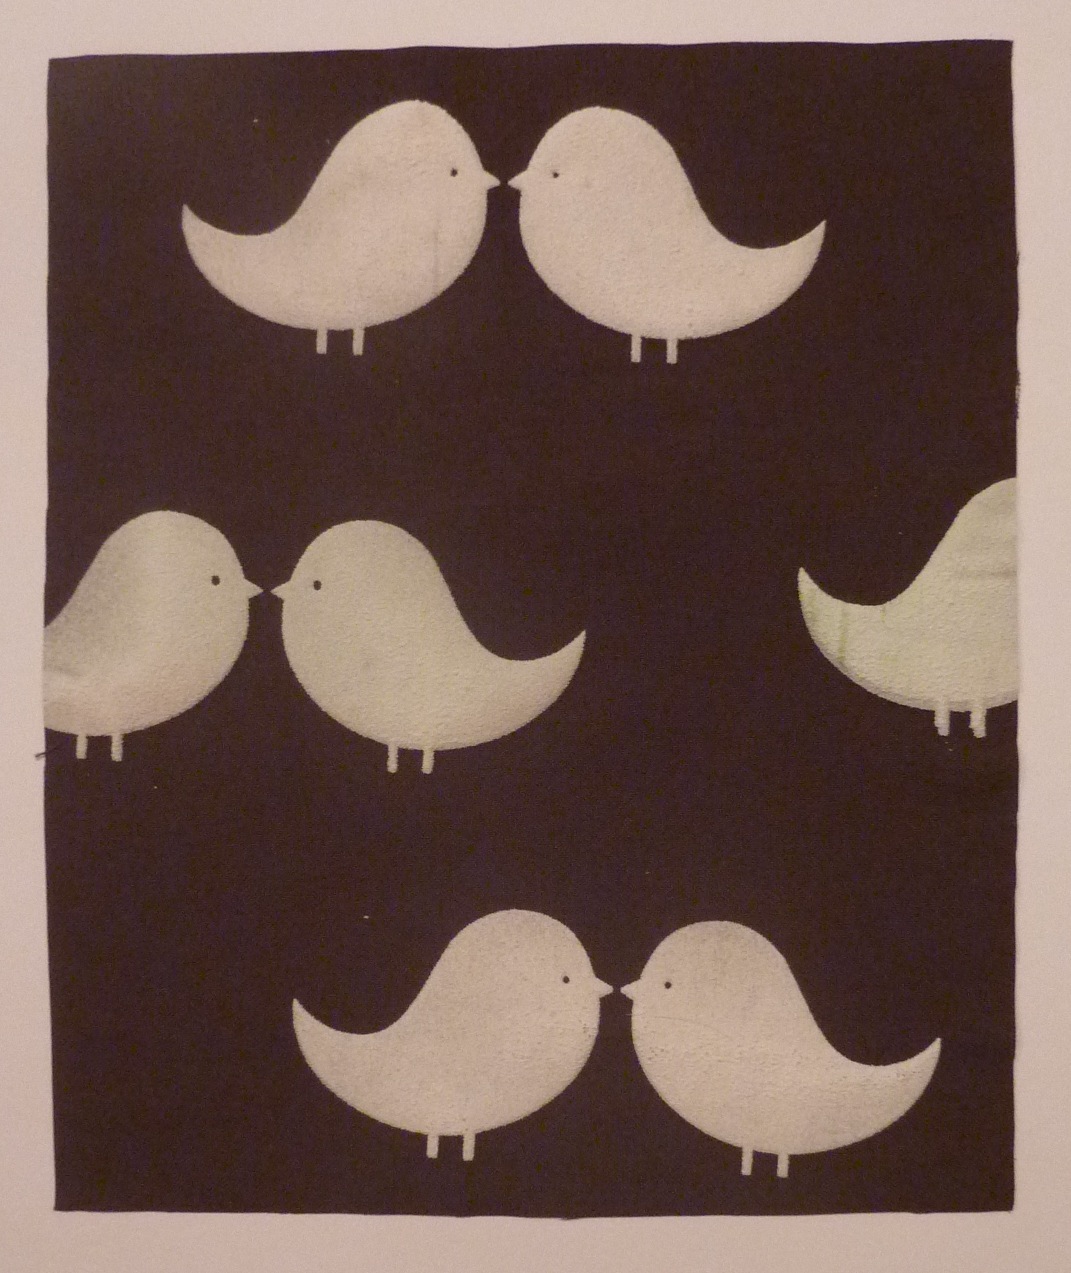
 |
| Yuken Teruya |
Some pieces in the Gallery inspired me because they were so clever and made you go 'wow'. Some examples are shown below.
 |
| Manabu Hangai, Wonder Forest Using Seaweed raw hemp paper pigment and a range of recycled materials, Hangai created this piece inspired by humans interaction with nature. He created an immersive environment that the public could walk through. I loved how the branches were suspended from the ceiling, so with draughts they span gently, giving a very natural, 'outdoorsy' feel. |
 |
| Justine Smith, Money Map of the World For this piece, the artist sourced current issues of bank notes from all over the world and created a very accurate map of the world with them. It isn't like any other map, as it doesn't necessarily represent countries, or political groups, it represent economics. For example, areas of Europe all have the same note yet they are different countries, so it isnt your typical world map. |
 |
| Andrea Dezsö, Living Inside Tunnel Books These consisted of hand sew and cut paper tunnel books with interactive LED lights which I thought had a lovely effect with the shadows and light created. They represent small, handmade theatre sets with layers of paper creating three dimensional scenes. I love how such a flat media like paper can create a very 3D image, as lots of artists had done in this exhibition. |
 |
| Long-Bin Chen, Twist Angel 6! This is a life sized human figure suspended from the ceiling. The books are strung together with the spines facing up, and the carved surface is underneath. He uses 'valuable' books such as the New York phone book, which are now considered unimportant with the Internet being so readily available, and gives them a new lease of life. |
The whole exhibition was so inspiring and its given me lots of inspiration for my next project; its a shame that I couldn't write about more of it!