Friday 26 April 2013

Beak Book Workshop = TONNES of ideas!

Today in a workshop we learnt how to make beak books. Although I had made them before and it was a simple technique, it stimulated lots of ideas within the group about how we could start putting our exhibition together.


On the left is the simple structure of the beak book, made out of an A4 sheet of paper, but as an exercise we tried to push the boundaries of what a book could be. So we opened up the inside of the book to create the structure below, joining 3 of our books together. The idea was that we had writing on the outside based on Alice in Wonderland, and an image of our work on the inside. 


I also played with the idea of a concertina book, taking the basic concept and joining lots of them together to create a trailing book shown below.


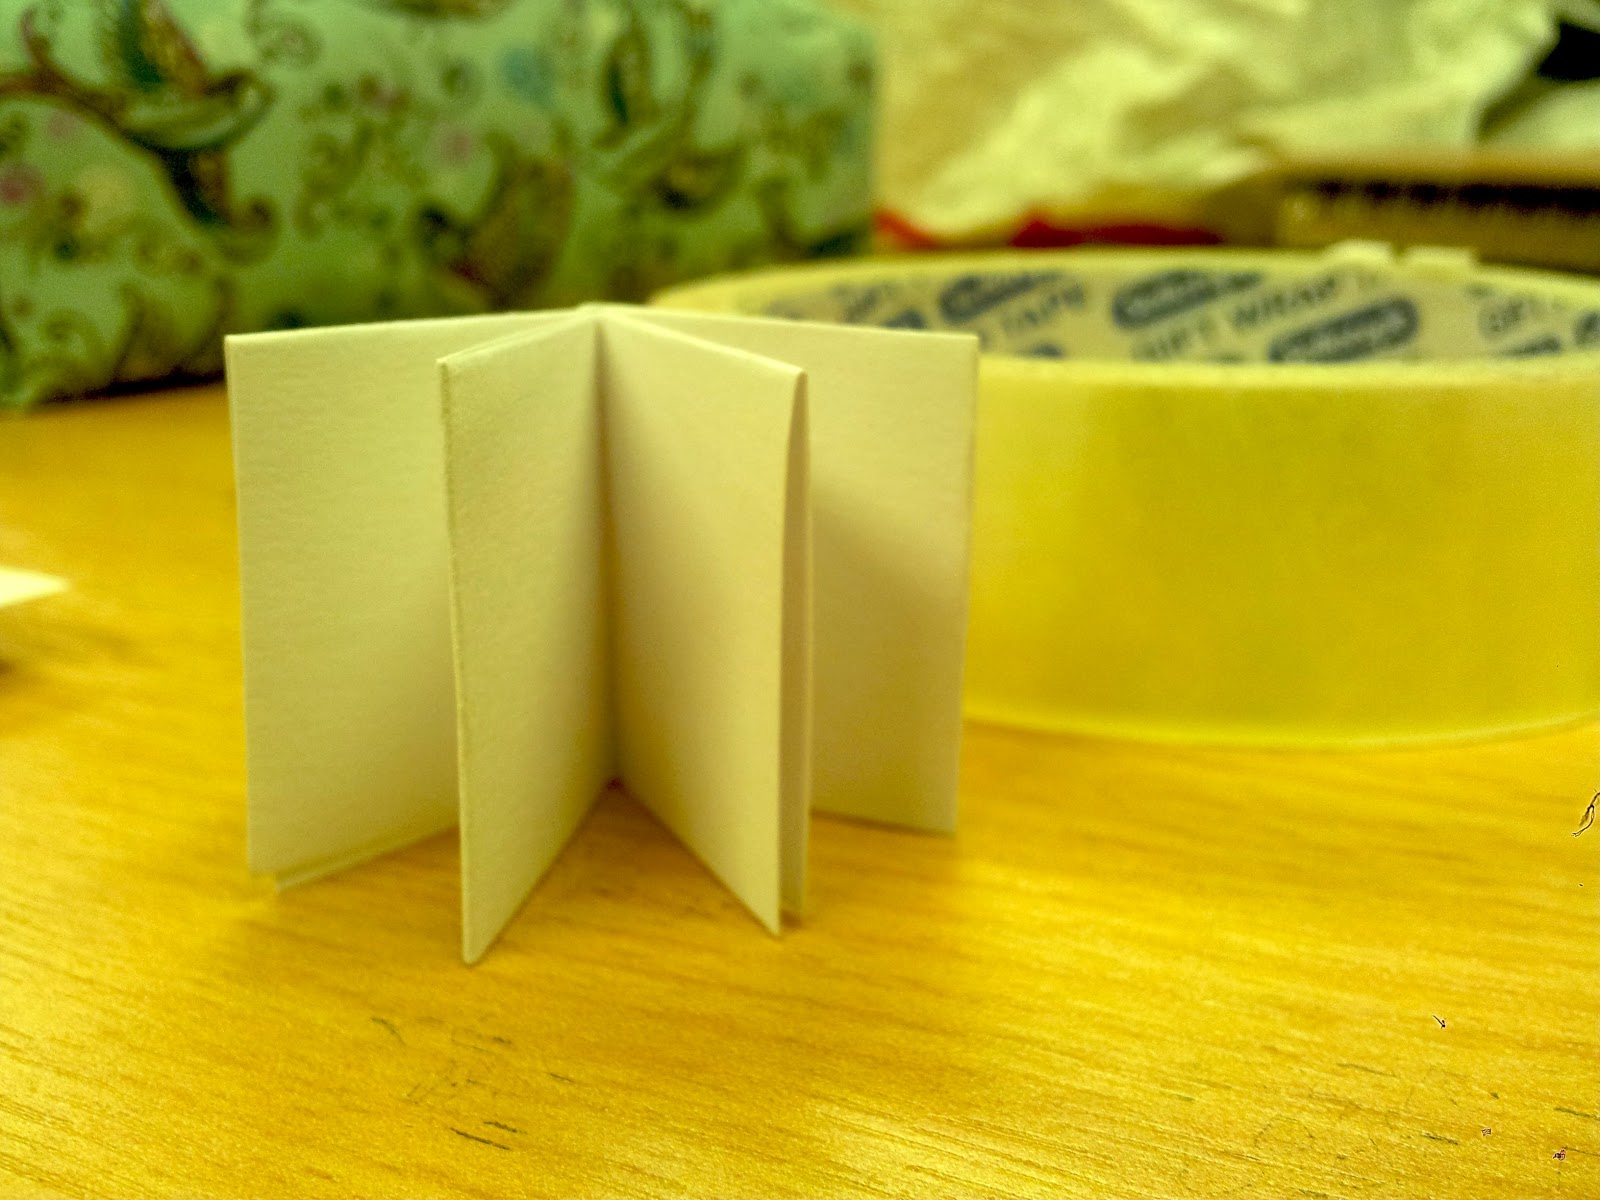
As a group, we then had the idea of creating tiny beak books, relating to the shrinking idea of alice in wonderland. The one below is no more than an inch high and we could incorporate these into our exhibition by creating a different design for each of the artists, and creating multiples of them for people to take away, to interact with the exhibition.


The idea is that at each persons work, there will be another persons small book, directing them to see their work. We hope to display these creatively within the space, and create an interactive wonderland (a rough example is shown below). 


We also thought of lots of other ideas for our exhibition to create our own wonderland, such as changing the dimensions of the door to make people crouch to get in, as though they were alice, and having art on different levels, such as mushrooms on the floor directing people. As soon as we know the dimensions of the space we get given, we can start thinking about these more.

Wednesday 24 April 2013

A Maze of Patterns!

When I sat down to do work this week, I definitely found myself being stuck for inspiration. I find it hard to work when I feel like this, and I kept trying to do things which didn't work! After pondering over the idea of shadows and light, I eventually thought about the idea of a 3D cutout shape which, when light was projected on it, would look like an illusion, or maze of patterns (linking to the theme of illusion as mentioned in my previous post).


This was the result, and I am happy with the outcome. Although it was hard to make, I can see myself doing multiples of these for my final exhibition, hanging them from the ceiling and allowing them to spin naturally due to drafts, casting a lovely spinning shadow on the wall behind.


I could also create a video to go along side my pieces (a bit like the one above) to show them shrinking and enlarging as the object got closer to the light source When the shadow is spinning this definitely creates the appearance of an illusion too.

Monday 22 April 2013

More cutout shadow experiments!

Since doing the shadow experiments in a cardboard tube, I really wanted to continue with the idea of projecting shadows. I therefore decided to try and relate the idea of cutouts back to Alice and Wonderland a bit more literally, to give me some inspiration for new ideas.

I photocopied page 175 of Alice in Wonderland and cut out every 1st, 7th and 5th letter (relating to the 175 brief). This was the result which I am very happy with. The image below is a projection of the paper onto a massive wall, and I love how the shadow of the page keeps its clarity.


I then went onto experimenting with bending and curving the page to see what result this had, and how it affected the projected shadows.


The shadows grew as they expanded across the wall which is perfect for my shrinking and enlarging theme.  I also think the idea of shadows links well with the theme of illusion and confusion which I think is also a prominent theme in Alice in Wonderland, so I might try to incorporate this into some of my next experiments.

Friday 19 April 2013

Shadow Art!

After doing some work based on shadows at the start of this week,  (http://jennasimpson94.blogspot.co.uk/2013/04/inspired-by-anastassia-elias.html) and having a group tutorial, I have decided to look further into shadow art, as it interests me and I feel it would work well as an installation piece at the final exhibition.

I have found some artists which do very clever art with shadows, shown below. I like the idea of illusion because this is also a key theme in Alice in Wonderland. When first spotting some of the objects below, you may wonder what's so fantastic about them, until you see the shadow it casts and realise that its an amazing piece of art that captivates your imagination.
Fred Eerdekens
Fred Eerdekens
Kumi Yamashita
Tim Noble and Sue Webster
Kumi Yamashita
On a smaller scale, I found some other artists that use shadows in a simpler way which I think at times can be more effective. In terms of my work, I think repetition of shadows would suit my work well.

Christian Boltanski


http://www.subtours.com/cms/node/75
Cuentos Chinos (Chinese Stories) is an installation inspired by the traditional Chinese Shadow Theatre. In this installation the "actors" are cheap chinese products which were bought in the popular "all for one Euro" stores.
The products are conected with around 110 motors, solenoids, fans etc and distributed over 18 small theaters with 36x40 cm base. These sceneries are standing on top of Overhead projectors so that their moving shadows will be cast to the walls of the space. 

Kumi Yamashita
As development from this research, I will try experimenting with 3D sculptures that link to the work I have done so far, and see how they interact with shadows and light.

Tuesday 16 April 2013

Abigail Reynolds - First Cut exhibition!

 I have begun to look at some relevant paper artists, to give me some inspiration based on how I can communicate my ideas imaginatively through the medium of paper.

After visiting an exhibition at Manchester Art Gallery called The First Cut recently, I saw Abigail Reynolds's work, and was inspired by the way she used paper to convey ideas an images, on a complex level.

An Artist reference sheet, showing Abigail's work next to some of my interpretations of her work. I love the way her work merges two pictures so that both can be seen effectively. Does the image of trees and a building show what was there before and after construction?


These are my two interpretations of her work, using some of the scanned in drawings which I created earlier on in the unit.

Monday 15 April 2013

175 - revisiting the brief!

How have I used the number 175? 

I have used the number 175 to inspire the research, methodology and experimentation throughout my project so far. My initial idea of Alice in Wonderland first came from looking at the 1st book case, the 7th shelf, and the 5th book along in a second hand book shop, leading me to my project theme.

Since then I have ensured this number has cropped up in my methodology of working. For example when taking pictures, I've taken them every 175 seconds, I've drawn for 175 seconds and Ive also done some drawings which  have been 17.5cmx17.5cm. This has enabled me to set some limits when working, and has allowed my work to have an underlying link, as well as the Alice in Wonderland theme.

Inspired by Anastassia Elias.

After doing my collage exercises, I have been inspired to use paper more as I develop my project. One example that inspired me was Anastassia Elias, who uses toilet rolls to create miniature art. 

http://www.art-spire.com/en/art/paper-cut-collages-inside-toilet-paper-rolls-by-anastassia-elias/
(more images on this site)


Whilst trying to replicate some of her work, as well as making 'shrunken' art, I have considered using shadows and lights to 'enlarge' it again, relating to my theme of shrinking and enlarging.


This is my interpretation of her work, using a hand cutout pattern and sticking it midway through the tube.


I experimented with transfering the light pattern onto walls, on a small scale and on a massive scale to cover a whole wall (as both shown above).


The tube was also night when it was lit from underneath


This has got me thinking about whether I could use tubes and shadows as part of an installation piece in my final  exhibition.

Saturday 13 April 2013

Alice Kettle - London.

After recently visiting 'The Queens House' as part of Greenwich Royal Museum in London, I saw an exhibition featuring Alice Kettle, and one particular piece caught my eye because it isn't the kind of work I usually see her do.


The piece called 'Flower Helix', 2013, and is made up of Alice Kettles work with contributions from a variety of makers. It fell down the centre of a spiral staircase, and further inspired me to create an installation piece for my exhibition.


I love how delicate and elegant the installation is, with the subtle tangled threads and I think I could create something similar with my work, maybe involving light as well to enlarge the installation on walls, linking to my shrinking and enlarging.

Friday 12 April 2013

Shrinking using paper!

This week I came to a standstill with some of my ideas, but after a tutorial and a session talking to my group and friends, I was inspired to try another way of representing shrinking.

I decided to take pictures on my way home from university every 175 seconds of whatever was to my right hand side (out of the window) to see what results I came across.

After being inspired by a piece of work by my friend Paige, I then decided to make a collage out of them by folding them in different ways.


The idea behind this was to shrink the image by folding. By pinching some of the images at one side after folding, this further increased the illusion of shrinking, as shown with this picture of a bus lane on a main road near where I live.

After doing the collage above I decided to do another using page 175 of Alice in Wonderland. I made this one more adventurous with different sized pleats and using 3D strips to enhance the collage.


Sketchbook Research

Today I also have been doing some drawings based on enlarging and shrinking certain things in my environment which I think are more/less important. I drew them in different environments for 175 seconds, as a way of drawing a collage of my surroundings.


These two pieces have inspired me to look at whats around me as a theme for my project, rather than objects that shrink, and make them look as though they are shrinking in one way or another. Id like to develop this further next week.

Wednesday 10 April 2013

Cornelia Parker

During a visit to Manchester Art Gallery, I found this piece called 'Marks made by Freud, Subconsciously' by Cornelia Parker. I was particularly interested in it because it appeared that the person viewing this image must have shrunk to see this image on such a close up scale. It is a close up zoomed image of a leather couch which shows a journey or period in Freuds life.


After researching into her as an artist more, I discovered that her main specialty was installations and sculpture. Her pieces captivate the imagination, and I could see myself doing an installation piece like hers for my final outcome.

Monday 8 April 2013

Developing shrinking ideas!

At the start of my second week of developing shrinking, I concentrated on items in our world that shrink naturally, and tried to replicate them using different media and mark making. I looked at ideas such as drying fruits, wrinkly skin, drying flowers, and also how an object can appear shrunk when it naturally deteriorates, such as a poppy turning into a seed head.


After doing this work I decided to start trying to create some more 'final' pieces which incorporate the ideas I have recently looked at. One of my favourite ideas was manipulating my drawing of a shrunken, dried orange slice on photoshop to make it look although its shrinking again!


 I also had the challenge of producing 0.5 or half of a piece and I decided to do this by using alternate squares of an image to give an impression of what it might be, almost like an optical illusion. This theme of illusion is key in my work at the moment, but it also crops up in alice in wonderland which might be a good link for me to develop with.

This piece below is my favourite from my two weeks of research, as it combines some of the ideas I have been looking at. After scanning in my drawing of poppy seed heads, I shrunk the image centre on photoshop to make it look as though it is shrinking towards the centre, creating an illusion of falling, or a tunnel. I then enhanced this effect by writing 175 shrinking towards the centre as well.


Monday 1 April 2013

Starting to shrink!

During the easter break, I have set myself the task of doing 17.5 drawings/photos based on my theme of Shrinking

My first ideas which I have developed this week are shown below.
I started by thinking about how I could manipulate text to make it look as though it was shrinking on the page. I used lines, swirls, curves and squares to create the results below and its interesting how they all vary.


I also looked at photoshop and photography this week. As I liked the results of manipulating the text, I had a go at doing this on photoshop too. I also tried to shrink my sister and make it look as though she was pushing a normal sized banana. As well as manipulating images on the computer, I tried to create illusions using just photography, for example making objects look smaller than they actually are, like pinching a rock from the stone henge.


My final experiment this week was creating a time lapse animation of an ice cube melting, watching it shrink over time.


The work which I have completed this week has really inspired me to look at objects and items that shrink in our every day life. Id then like to be able to merge some of these images and drawings with the techniques I have developed this week, as part of my progression.